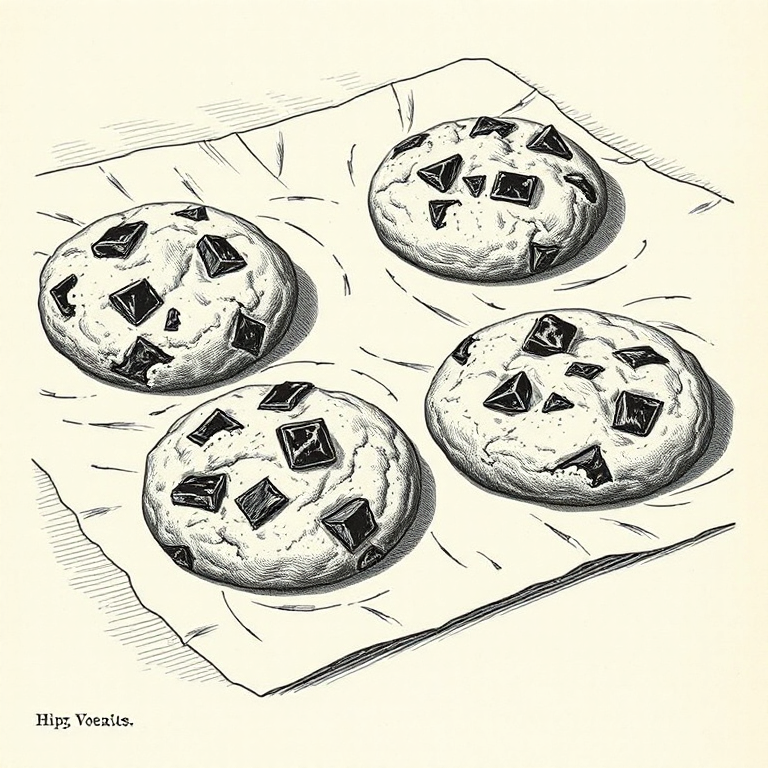
The discardThe cold, sluggish layer of sourdough starter scooped off before a feed – still alive, with lactic acid and pre-hydrated flour that tenderise cookies, pancakes, and crackers. out of the quiet jar in the fridge does most of its work in the texture, not the flavour. The acid tenderises the gluten, the wet flour keeps the centres soft as they cool, and the wild yeasts add a faint round note you’d miss if it wasn’t there. The other half of the recipe is brown butterButter melted past the foaming stage until the milk solids toast amber on the bottom of the pan and the smell turns to hazelnuts – about thirty seconds from perfect to burnt, so pull on the smell, not the colour. and a generous hand with the brown sugar – those are what make the cookies taste like a bakery cookie and not a biscuit. I make the dough on Sunday afternoon, scoop it into balls, and freeze the lot. From there they go straight from the freezer to the oven whenever a cookie is wanted – no thawing, no planning ahead, just pull what you’ll eat from the bag and leave the rest where they are.
Why discard
A cold scoop of starter straight out of the fridge – the part you’d normally throw before a feed – carries three useful things into a cookie dough. First, lactic and acetic acid: enough to tenderise the gluten the way a splash of buttermilk would, so the bake stays soft rather than crisp through. Second, hydrated flour: the discard is half flour and half water by weight, and that pre-hydrated flour holds moisture in the centre as the cookie cools. Third, a faint sour note that sits underneath the brown butter and chocolate. You won’t pick it out as “sourdough” if you didn’t know; you’d notice if it wasn’t there.
Use discard from the fridge, not freshly fed starter at peak rise. Active starter throws air into the dough and the cookies puff and stay puffy. You want the cold sluggish stuff – the layer that’s been quiet under the lid for three or four days.
Ingredients (16 cookies, 75g balls)
The dough
- 145g unsalted butter
- 190g soft light brown sugar
- 95g caster sugar
- 1 large egg, plus 2 extra yolks
- 1 tsp vanilla extract (or 1 tsp vanilla bean paste)
- 125g cold sourdough discard (100% hydration – equal parts flour and water by weight)
- 275g plain flour (target around 9% protein – a soft biscuit/pastry/cake flour is ideal; high-protein bread flour develops too much gluten and gives a tough cookie)
- 3/4 tsp bicarbonate of soda
- 3/4 tsp fine sea salt
- 250g dark chocolate (70%), roughly chopped into chunks the size of your thumbnail – not chips (chips carry stabilisers that hold their shape in the oven; you want chocolate that melts into ribbons and puddles, plus a drift of fine shards from the chopping board that streak through the dough)
To finish
- Flaky sea salt (Maldon or similar)
You’ll need a small saucepan for browning the butter, a large mixing bowl, a 75g cookie scoop or just a tablespoon and a guess, a flat tray that fits in your freezer, and a sheet of baking parchment.
Brown the butter
Cut the 145g butter into rough cubes and put it in a small light-coloured pan over medium heat. It melts, foams, the foam subsides, the milk solids drop to the bottom and start to colour. Stir occasionally and watch the colour through the foam: amber on the solids, a smell of toasted hazelnuts, then off the heat. The window from “perfect” to “burnt” is about thirty seconds, so pull it the moment the smell hits, not when the colour does.
Pour the brown butter into a heatproof bowl, scraping every brown speck out of the pan – that’s all flavour. Let it cool.
Mix the dough
If the brown butter has solidified while it cooled, a ten-second blast in the microwave brings it back to liquid – you want it soft and pourable, not hot. Whisk the 190g brown sugar and 95g caster sugar into the cooled brown butter until it looks like wet sand and glossy at the edges. Whisk in the egg, the 2 yolks, and the 1 tsp vanilla, hard, for about a minute – the mixture should pale slightly and ribbon off the whisk. This is the only emulsification step in the recipe; if the butter and sugar and egg don’t come together properly here, the dough never quite catches up.
Stir in the 125g cold discard. It’ll go in as a stiff paste and want a moment to slacken into the batter – a wooden spoon and patience, not a whisk. The mixture turns a shade paler and looser.
Sift the 275g flour, 3/4 tsp bicarb, and 3/4 tsp fine salt over the top. Fold with a spatula until the streaks of dry flour disappear. Stop the moment they do – overworking the dough now is what makes cookies tough.
Tip the 250g chocolate chunks in and fold them through. A few stragglers on the surface are good – they end up on the top of a cookie, melted into puddles when it bakes.
Scoop and freeze
Line your tray with parchment. Scoop the dough in 75g balls (a generous heaping tablespoon if you don’t have a scoop), spacing them on the tray. You’re not baking yet, so they can sit close – just not touching. Sixteen balls fit on two standard trays.
Into the freezer, uncovered, for at least two hours – longer is fine. Once the balls are rock solid, lift them off the parchment and into a freezer bag or container, label with the date, and back into the freezer.
This is the whole point of the recipe. The dough does not need to be baked the same day. Frozen cookie balls mean these make great fresh-baked mid-week treats.
The balls keep eight weeks in the freezer with no loss of quality. After that they start to pick up freezer smells unless they’re double-bagged.
Bake from frozen
Heat the oven to 180°C fan. Push it past that and the gooey middle goes.
Take however many cookies you want straight from the freezer to a parchment-lined baking tray. Space them generously – they spread to roughly twice their diameter, and a cookie that meets its neighbour fuses into an awkward sheet. Four balls on a standard tray is comfortable; six is the upper limit.
Bake for 14 to 16 minutes from frozen. The edges should be set and lightly golden, the tops still pale and slightly glossy in the middle. They look underbaked when you pull them out. That is the point: they finish carrying-over on the tray and the centres set into gooey-not-raw rather than dry-and-crumbly.
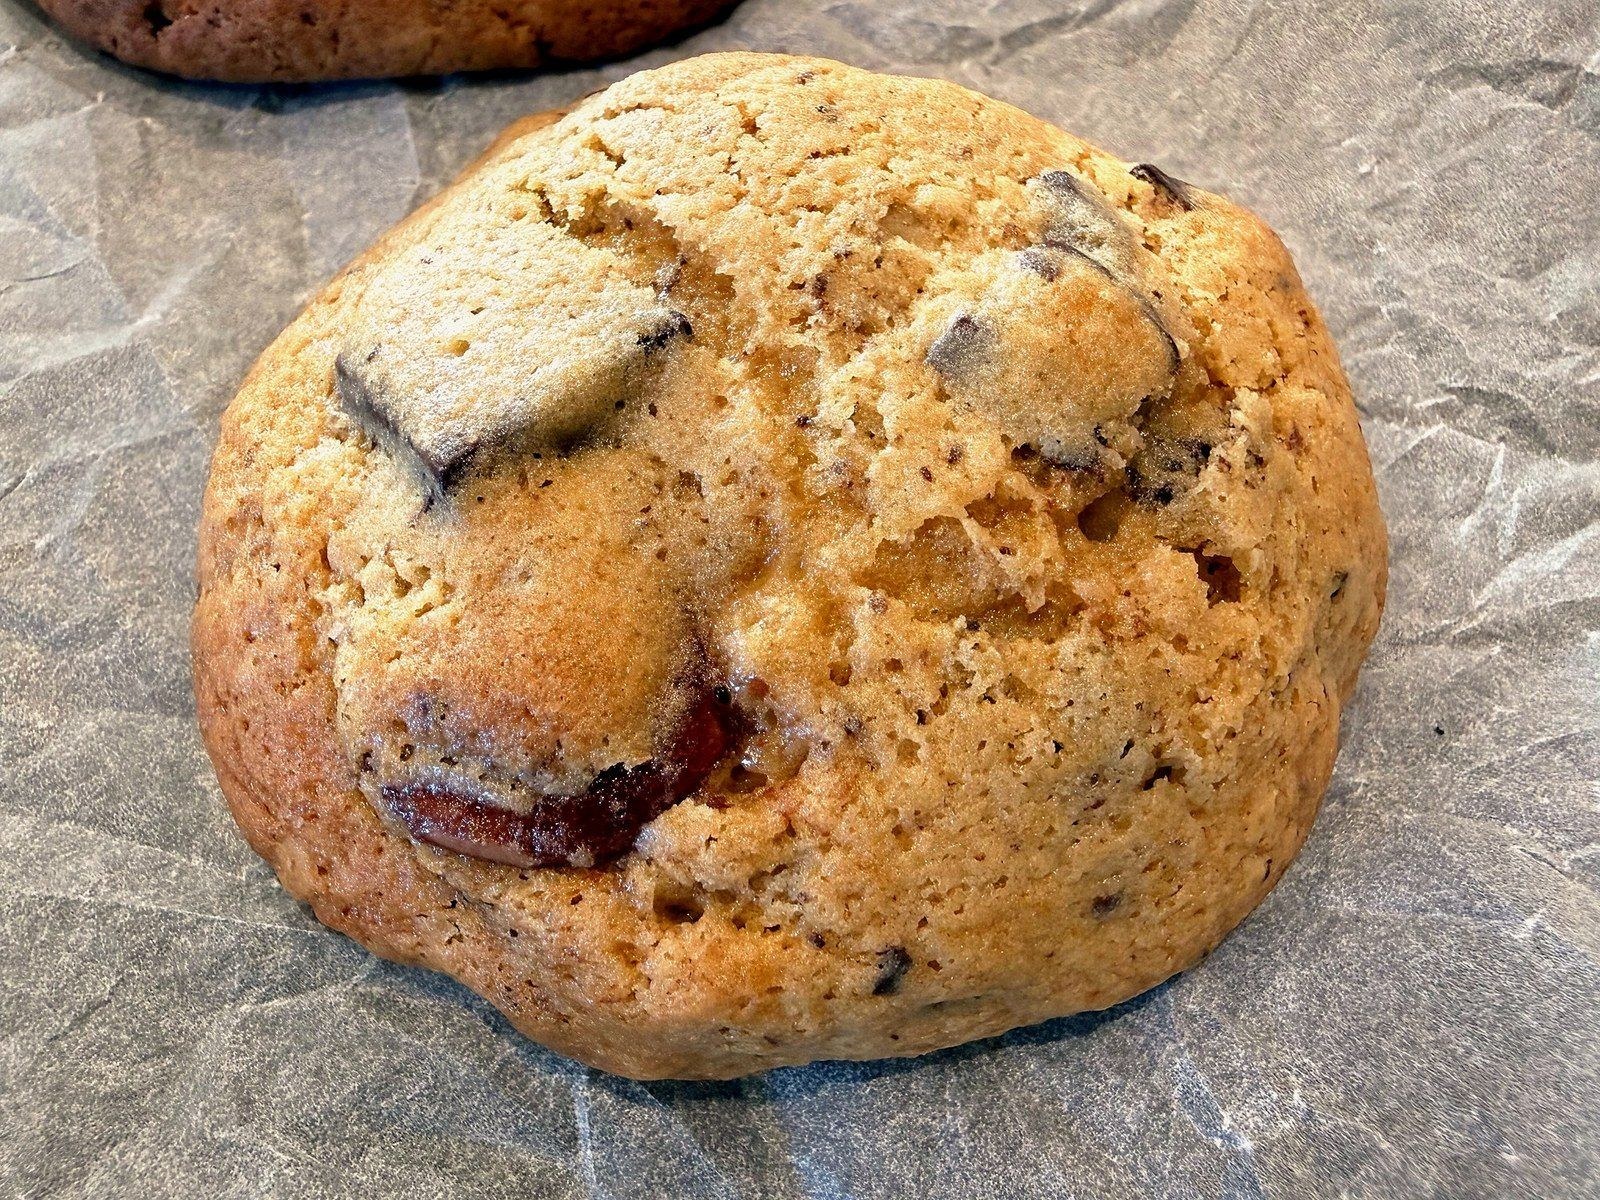
The moment they come out of the oven, lift the tray six inches above the bench and drop it. This is a thing – the small impact collapses the puffed centres into the wrinkled, craggy top you want, and pulls the edges in slightly so the cookies look round instead of spread-and-flat. One drop is enough.
A pinch of flaky salt on top of each cookie while they’re hot. Cool on the tray for five minutes – they’re too soft to lift before that – then a wide spatula to a rack or straight to a plate.